SOP: General Laboratory Practice for Handling, Preparing and Incubating Food Samples
GIFSQ — Global Institute for Food Safety & Quality
1. Principle
Results from a food microbiology laboratory are only as good as the sample and the way it is handled before analysis. This procedure lays out the good laboratory practices that apply to all compendium methods: how to store samples on receipt, how to prepare a representative analytical unit from foods of every kind, how to homogenize and dilute it, and the tolerances that apply when the method itself is silent on incubation times and temperatures. It replaces the earlier Appendix E (September 1993), Appendix F (November 1999), Appendix H (December 2001), Appendix I (January 2003) and the Supplement to Appendix I (June 2005).
2. Apparatus required
- Refrigerator (2–8°C) and freezer (−18 to −20°C)
- Analytical balance (±2% weighing tolerance)
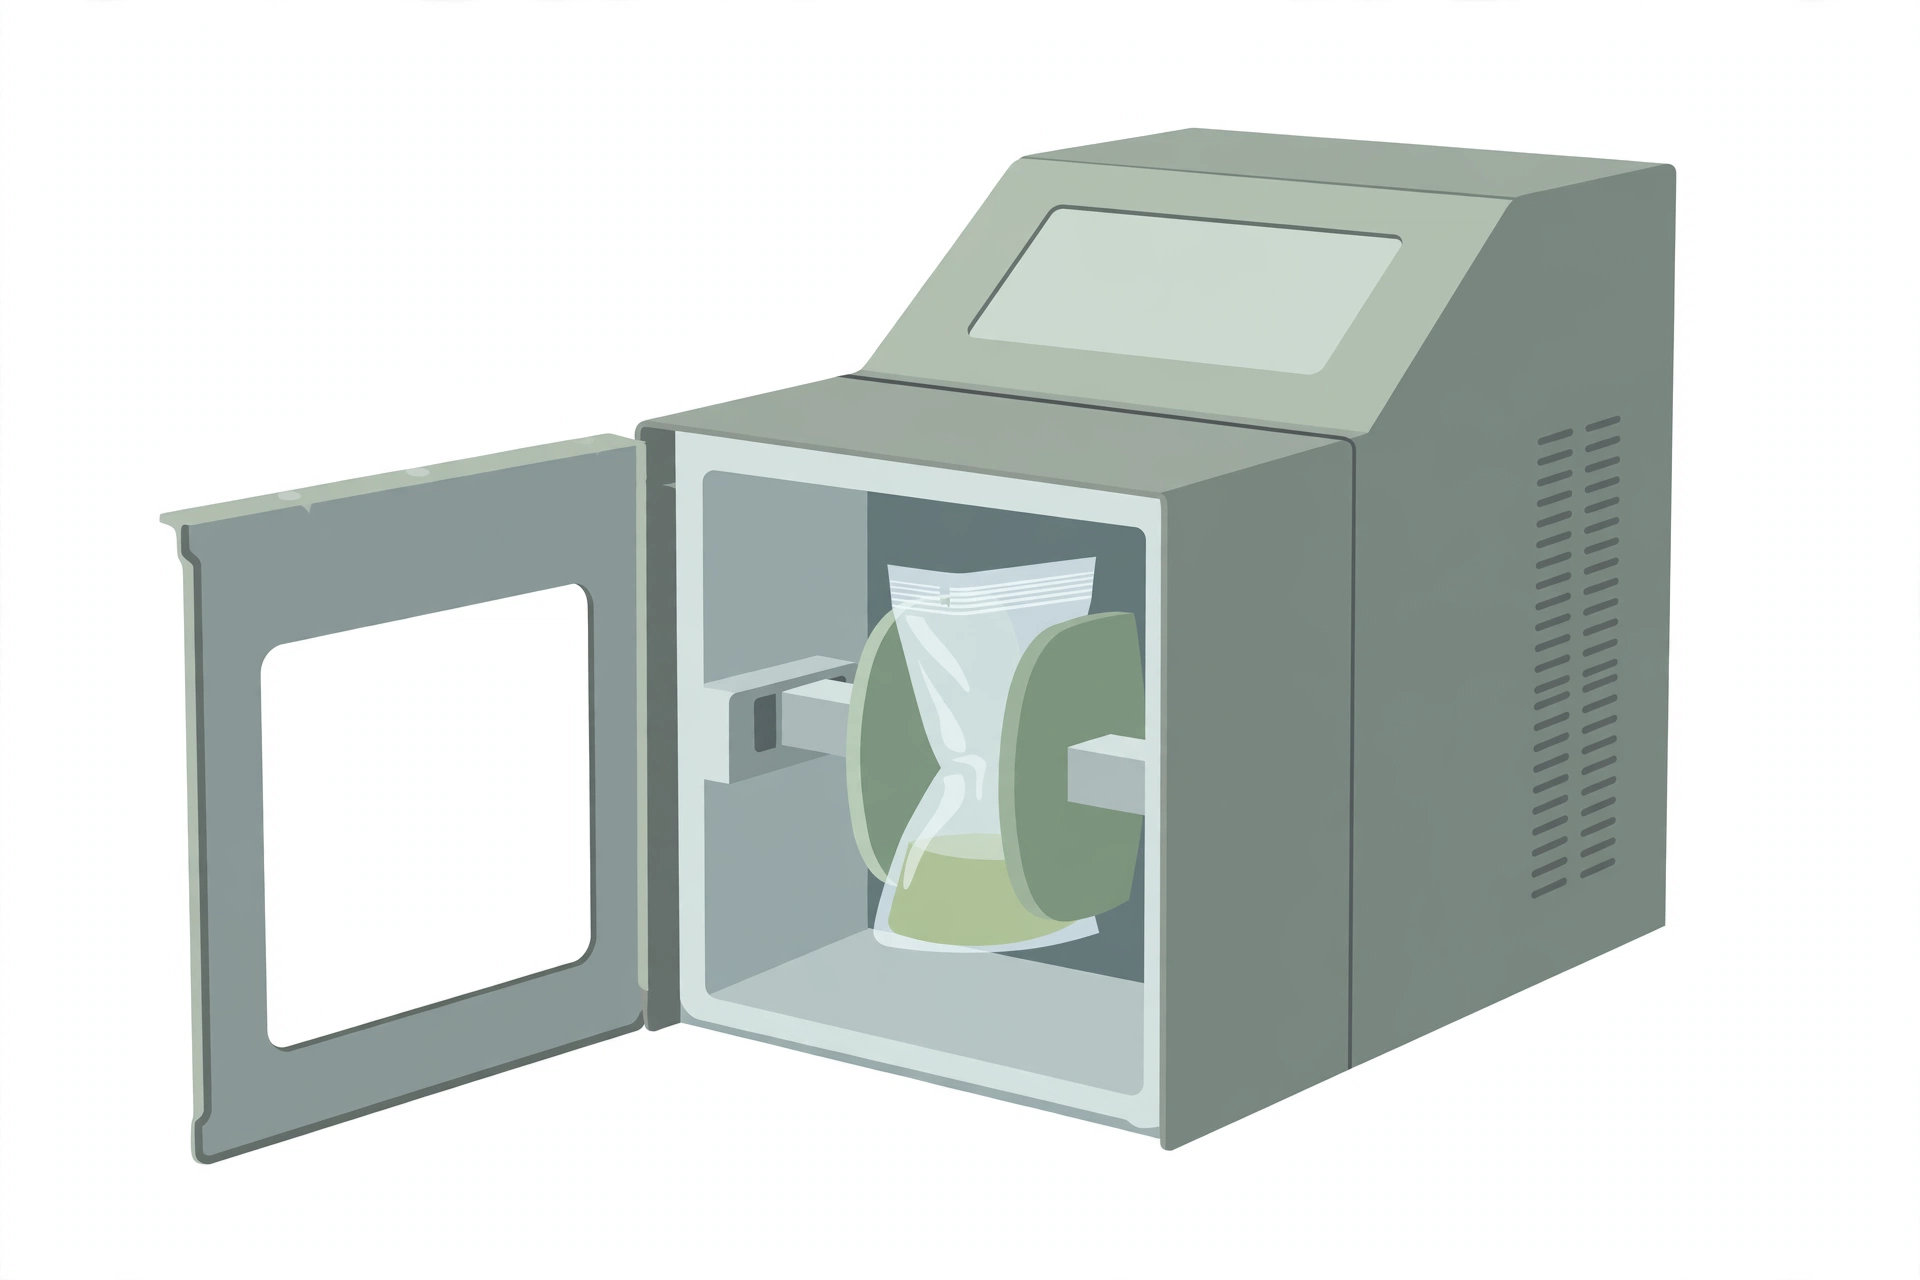
- Stomacher and/or blender
- Water bath or incubator for pre-warming enrichment broths
- pH measuring device meeting the accuracy and resolution the method requires
- Vortex mixer
- Sterile containers, sample bags and tubes
- Sterile knife, sterile forceps and sterile shucking knife
- Sterile stiff brushes
3. Reagents
- Sterile distilled water
- Enrichment broths and diluents as specified by the method
- 1.0 N HCl and 1.0 N NaOH (for pH adjustment)
- Iodophore solution or other suitable disinfectant (for shellfish processing)
- Sterile filter bags (optional, for high fat, high foam or high particulate samples)
4. Procedure
Receive and store the sample
- Analyze samples as soon as possible after receipt
- If analysis cannot start immediately, store so as to preserve the integrity and original viable microflora at the time of sampling/collection: non-perishable, canned or low-moisture foods at room temperature; refrigerated samples refrigerated (typically 2–8°C); frozen products frozen (typically −18 to −20°C)
- Follow any program or target-organism limits where prescribed (for example, test within 24 h of sampling/collection, hold within 4–7°C)
- Re-seal any retained untested portions and store in a manner that preserves sample integrity and prevents cross-contamination and loss of moisture
- Hold thawed frozen samples under refrigeration; never re-freeze a thawed sample
↓
Consider the food matrix before choosing the method
- Most compendium methods carry food-specific instructions and enrichment conditions: follow them, because the food matrix can have a large impact on recovery of the target microorganism
- Where there is uncertainty about applying a particular protocol or screening method to a given food, use a cultural method instead of a screening method
- If testing a given food matrix with a particular method raises issues, contact the Microbiology Methods Committee (MMC) with the evidence
↓
Prepare a representative analytical unit
- Microorganisms are not uniformly distributed in any food sample: thoroughly mix each sample unit before sampling — shake liquids, and mix or homogenize solid/semi-solid samples where practical
- For multi-component sample units (for example a sandwich), aseptically collect portions from multiple locations, keeping the same proportions of bun, toppings, meat, cheese and other components as in the whole product, so the analytical unit is representative
- If the components are similar in composition, homogenize them first, then withdraw the analytical unit
- When homogenizing, avoid prolonged blending that could raise the sample temperature
- If a sample unit consists of more than one container, aseptically combine and mix the contents before withdrawing the analytical unit; where that is not possible or practical, make the analytical unit from equal and representative portions of each container
↓
Prepare specific commodities as follows
- Liquid or semi-solid sample with headspace: invert or shake by hand until thoroughly mixed (for example 25 times in a 30 cm arc in approximately 7 seconds), then collect the analytical unit immediately after mixing
- Dehydrated and low-moisture products: mix thoroughly in the original container and weigh aseptically; for quantitative methods, after stomaching/blending and adjusting the pH where necessary, hold the sample at room temperature for 15 minutes before proceeding, to allow adequate rehydration — this applies to quantitative methods even where the method does not state it
- Frozen products: thawing before analysis is not recommended; if unavoidable, thaw or partially thaw smaller products in a way that mitigates stress and damage to bacteria — up to 3 h at room temperature, or not more than 18 h at refrigeration temperature; store thawed samples under refrigeration and do not re-freeze
- Larger frozen products: remove portions mechanically with an appropriate tool such as a sterile knife, return the sample to a freezer as soon as possible, and use this approach only for homogeneous products where a representative analytical unit can be obtained
- Seeds intended for sprouting (such as alfalfa, radish and mung bean — not applicable to seeds not intended for sprouting such as sesame or sunflower, or seeds consumed as is such as chia or flax): aseptically weigh 125 g of seeds into a sterile container, add sterile distilled water until the level is approximately 2–3 cm above the seeds, aseptically cover and incubate at 30°C for 3 days or longer until the seed coats have split and some germination is evident; restore the water level as it is absorbed (the first addition is absorbed about 2 h into incubation) and keep monitoring it; after incubation, aseptically weigh the required analytical unit of the germinated slurry (seeds plus water) for analysis
- Live molluscan shellfish: use aseptic shucking techniques throughout; scrub gloves with soap and rinse free of soap; scrub the holding surface with a sterile brush and an appropriate disinfectant and rinse after the contact time has elapsed; scrub the shellfish, including the crevices at the juncture of the shells, with a sterile stiff brush under running potable water, scrubbing unidirectionally away from the hinge; scrub a minimum of 10–12 animals and include only live ones; place cleaned shellfish on the disinfected surface to drain; before shucking, scrub gloved hands with soap and water, rinse with potable water, dip gloves in an iodophore solution (or other suitable disinfectant) and rinse under running potable water; open shellfish through the bill, not the hinge, with a sterile shucking knife, and collect the meats and liquor into a sterile container (shucking through the bill keeps mud trapped at the hinge — a known risk in Pacific and Eastern oysters — out of the meats)
↓
Weigh the analytical unit
- Obtain the analytical unit with an appropriate tool such as a sterile knife or forceps, or pour directly from the package or container where that can be done without contamination from the package exterior and where it allows representative sampling (generally only for homogeneous or near-homogeneous liquids, or free-flowing granular or powdered products)
- Add enrichment broth/diluent according to the method
- The weighing tolerance (for both samples and broth) is ±2%
↓
Homogenize the sample
- Use a stomacher or blender as the method and commodity require; stomaching may not suit foods with sharp or hard portions that could puncture the sample bag, or products that cannot be sufficiently homogenized by stomaching — in such cases use a blender, or homogenize by hand by thoroughly massaging the sample matrix through the bag until homogeneous
- Where no blending or stomaching time is specified, use a time sufficient to mix the analytical unit adequately but not more than 2 minutes, to avoid overheating the sample
- Reduce the homogenizer speed for foods that tend to foam, and take aliquots from below the surface of the foam
- Sterile filter bags may optionally be used for high fat, high foam or high particulate samples to ease pipetting at later steps
↓
Pre-warm the enrichment broths
- Where a method gives no pre-warming instructions, use these guidelines: for analytical units of 65 g or less, pre-warm the enrichment broth to at least room temperature before use; for analytical units greater than 65 g, pre-warm to within 2°C of the incubation temperature where the incubation temperature is 37°C or less; for incubation temperatures greater than 37°C, pre-warm to within 2°C of the incubation temperature but do not exceed the prescribed incubation temperature, because higher temperatures may be lethal to the organism being isolated or cultured
- Do not pre-warm broths more than three times before use or hold them at incubation temperatures for extended periods (for example overnight), as that may impair broth performance
- Do not pre-warm broths containing antibiotics or other supplements more than once; a laboratory that warms more than recommended must validate its practice to demonstrate no detrimental effect on broth performance
- Warm secondary enrichment broths to room temperature before use; likewise warm primary enrichment media used for quantitative analysis (for example alkaline peptone water or lauryl sulfate broth) to at least room temperature before use
↓
Check and adjust the sample pH
- Where a pH range is specified for the diluent or enrichment broth after the food matrix is added, take the pH after the stomaching or blending step and adjust where necessary with 1.0 N HCl or 1.0 N NaOH
- The pH measuring device must meet the accuracy and resolution the method requires
- Do not adjust the pH of the diluent plus food matrix before plating for quantitative methods, except where stated by the manufacturer (for example, Neogen® Petrifilm® products) — the sample is evaluated as presented to the consumer, preventing a false bias (positive or negative) that pH adjustment would introduce
↓
Prepare dilutions for quantitative methods
- Prepare the initial dilution as a weight-to-weight 1 in 10 dilution (1/10): one part sample to 9 parts diluent (1:9)
- The diluent may be added to the dilution container before or after the analytical unit regardless of the exact wording of the method, unless the method specifically notes the order as a critical step
- Prepare subsequent decimal dilutions (1 in 10) as needed
- Mix each dilution vigorously, generally by shaking 25 times in a 30 cm arc in approximately 7 seconds, or by vortexing as appropriate
- The elapsed time from when the analytical unit is blended to when all dilutions are in the appropriate media should not exceed 15 minutes
↓
Plate the dilutions for quantitative methods
- As a minimum, plate in duplicate for each dilution
- When high background microflora or high levels of the target organism are suspected, plate higher dilutions than the method states so values fall in the countable range; alternatively, increase the number of plates per dilution — the volume delivered onto each plate must not be less than the minimum or more than the maximum volume the method states (for example, when 0.2 mL on two agar plates is overwhelmed by background microflora, spreading 0.1 mL onto four agar plates may resolve the issue and give isolated colonies in the countable range)
- If no minimum volume is specified, do not use less than 0.1 mL per plate
- If no maximum volume is specified, do not use more than 0.4 mL per plate (on a 90 mm plate)
↓
Incubate within the allowed tolerances
- Where no tolerance or range (for example 18 to 24 h) is stated in a method: incubation times of 24 hours are ±2 h; incubation times of 48 hours or greater are ±4 h
- Re-incubation of agar plates beyond the recommended time is acceptable to allow colonies to reach a size suitable for counting or picking, since some target strains are slow growers and may need extra incubation time; re-incubation of negative or no-growth agar plates may also be performed to be sure no slow growers were present
- The tolerances that follow apply to steps that directly involve the growth of microorganisms: where a temperature of 37°C or less is recommended in the text of the method, the temperature may be ±1.0°C (for example 35 ± 1.0°C); where higher temperatures are recommended, the incubators or water baths must be maintained within 0.5°C, because of the potential lethality of higher temperatures to the microorganism being isolated
- Place samples (enrichments, tubes, plates) in the incubator so airflow is sufficient for all samples to come up to temperature rapidly and to give equivalent incubation temperatures across all samples throughout the entire incubation period; consider the insulating properties of vessels, the stacking of plates and similar factors, since they affect how quickly contents reach incubation temperature
↓
Run controls in parallel
- Test controls in parallel with each step of a method so they monitor and support the validity of the results for the associated samples
- Positive control: an organism displaying the key characteristic under evaluation (a positive outcome) — for example, a beta-hemolytic Listeria monocytogenes strain when evaluating hemolysis
- Negative control: an organism relatively closely related to the target but distinguishable from it, producing a negative outcome — for example, an Escherichia coli strain for a Salmonella method
- Reagent blank: an uninoculated medium carried through each step of the analysis, verifying growth conditions in the absence of a bacterial load
- Use well-characterized microorganisms from a reliable source such as a national culture collection (for example the American Type Culture Collection); where possible, positive control strains should be easily differentiated from natural contamination, for example by uncommon antimicrobial resistance or unique biochemical patterns, so contamination of the sample by the control strain can be recognized
- Where a method recommends specific strains that are unavailable to all laboratories, equivalent strains may be used provided the laboratory can demonstrate that the substituted strain meets the requirements of the method
↓
Handle enrichment broths during rapid screening
- When rapid screening methods are used for pathogen detection and give no handling instructions for the enrichment broths while the screening result is awaited, use the incubation periods of the relevant reference method as guidance; enrichments that have not reached the reference method’s minimum incubation period are returned to the specified incubation conditions so that criterion is met
- Holding screening broths at ambient temperature while awaiting rapid screening results may be considered acceptable provided the time period does not significantly exceed the reference method’s incubation period, with consideration given to the nature of the target pathogen and the matrix being analyzed
- Commence confirmation of presumptive positive samples on completion of the rapid screening method without delay, unless the published method or validation data supports a delay
↓
Re-analyze where needed
- If the initial analysis cannot be completed because of a laboratory error or a technical issue (no result generated or the result invalidated), the sample may be re-analyzed; a new analytical unit may be taken from the original sample unit if it has been kept under suitable storage conditions
- A positive (or non-compliant) result stands: no additional negative (or compliant) test result overturns the original positive (or non-compliant) result
↓
Apply commercial kit instructions correctly
- Where a commercial method kit insert or its instructions are not consistent with the published compendium method, the published method must be followed as written
5. Precautions
- Never re-freeze a thawed sample; hold thawed samples under refrigeration
- Do not exceed 2 minutes of blending or stomaching where the method sets no time, to avoid overheating the sample
- Never pre-warm a broth above its prescribed incubation temperature, and do not pre-warm antibiotic or supplement broths more than once
- Do not adjust the pH of the diluent plus food matrix before plating in quantitative work unless the method or the product manufacturer states it
- Do not exceed 15 minutes from blending the analytical unit to having all dilutions in the appropriate media
6. References
- Compendium of Analytical Methods, Volume 1, Appendix E — Supplement to All Compendium Methods, Microbiology Methods Committee, Health Products and Food Branch, Ottawa, March 2024.
- This appendix replaces: Appendix E (September 1993), Appendix F (November 1999), Appendix H (December 2001), Appendix I (January 2003), and the Supplement to Appendix I (June 2005).